Introduction
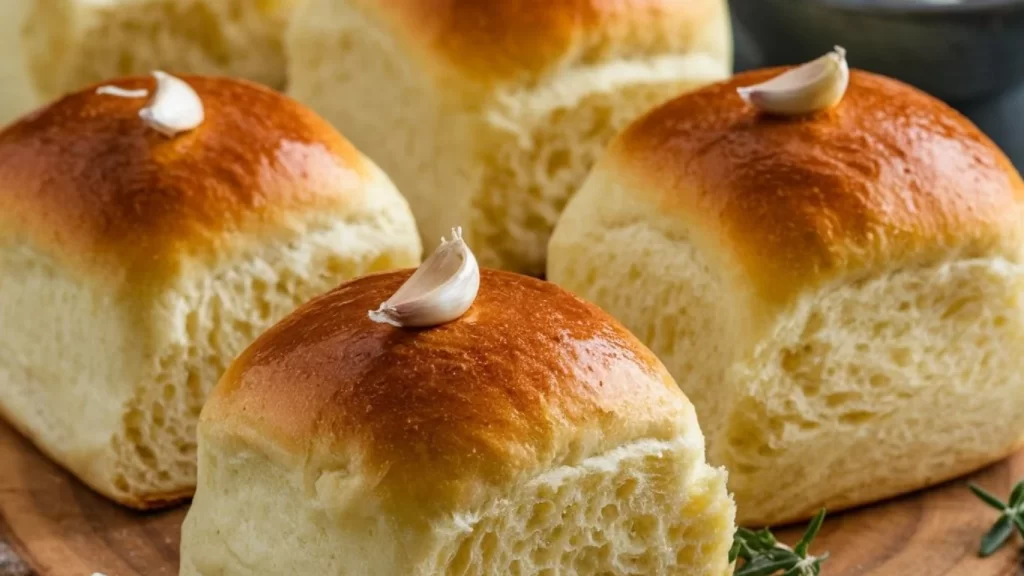
There’s nothing quite like the aroma of freshly baked garlic dinner rolls wafting through your kitchen. Whether you’re preparing for a holiday feast or just a regular family meal, these soft, pillowy rolls are the perfect accompaniment to any dish. Infused with fresh garlic, herbs, and butter, these rolls are not only delicious but incredibly easy to make. With a few simple ingredients like flour, yeast, milk, and of course, garlic, you’ll have fluffy, cheesy, buttery rolls that will steal the show at any dinner table.
In this detailed guide, we’ll walk you through the steps of creating these homemade garlic dinner rolls from scratch. Using active dry yeast and simple pantry staples, these rolls come together effortlessly, ensuring that even beginners can achieve bakery-quality results. Let’s dive into this perfect garlic roll recipe that combines flavors of parmesan, fresh herbs, and butter, making every bite melt-in-your-mouth good.
Ingredients for Garlic Dinner Rolls
Prior to commencing, please ensure that you possess all the required ingredients. Each one plays a vital role in ensuring your rolls are as soft, fluffy, and flavorful as possible.
Dry Ingredients:
3 ½ cups all-purpose flour (grams can be used for precision)
2 ¼ teaspoons instant yeast or active dry yeast (1 package)
1 tablespoon granulated sugar
1 ½ teaspoons sea salt
1 teaspoon garlic powder or minced fresh garlic
½ teaspoon dried rosemary (or use fresh, finely chopped)
2 tablespoons grated parmesan cheese
Wet Ingredients:
1 cup warm milk (about 110°F/43°C)
4 tablespoons of unsalted butter, melted, with additional butter for brushing.
1 large egg, lightly beaten
¼ cup warm water (for proofing the yeast)
1 tablespoon olive oil (for greasing the bowl)
Topping:
4 tablespoons butter, melted
3 cloves garlic, minced
2 tablespoons freshly chopped parsley
Extra parmesan cheese (for sprinkling)
Optional:
½ cup shredded parmesan or mozzarella cheese for an extra cheesy flavor
Fresh herbs like thyme, rosemary, or basil for garnish
Tools You’ll Need:
- Mixing bowls
- Measuring cups and spoons
- Stand mixer with a dough hook (optional)
- Baking sheet or cast-iron skillet
- Plastic wrap
- Pastry brush for brushing on the garlic butter topping
- Nonstick cooking spray (for greasing)
Step-by-Step Instructions
Activate the Yeast
To start, you’ll need to activate the yeast. In a small bowl, mix together the warm water, sugar, and active dry yeast. Give it a gentle stir and let it sit for about 5-10 minutes, until the mixture becomes foamy and bubbly. This indicates that the yeast is alive and ready to work its magic in the dough.
Prepare the Dough
In a large bowl (or the bowl of a stand mixer if you’re using one), combine the flour, salt, garlic powder, and parmesan cheese. Mix well to evenly distribute the ingredients.
Next, add the warm milk, beaten egg, and melted butter to the dry ingredients. Slowly pour in the activated yeast mixture. If you’re using a stand mixer, attach the dough hook and knead the dough on medium speed for about 5-7 minutes. Alternatively, you can knead the dough by hand for 10 minutes until it becomes smooth and elastic.
Let the Dough Rise
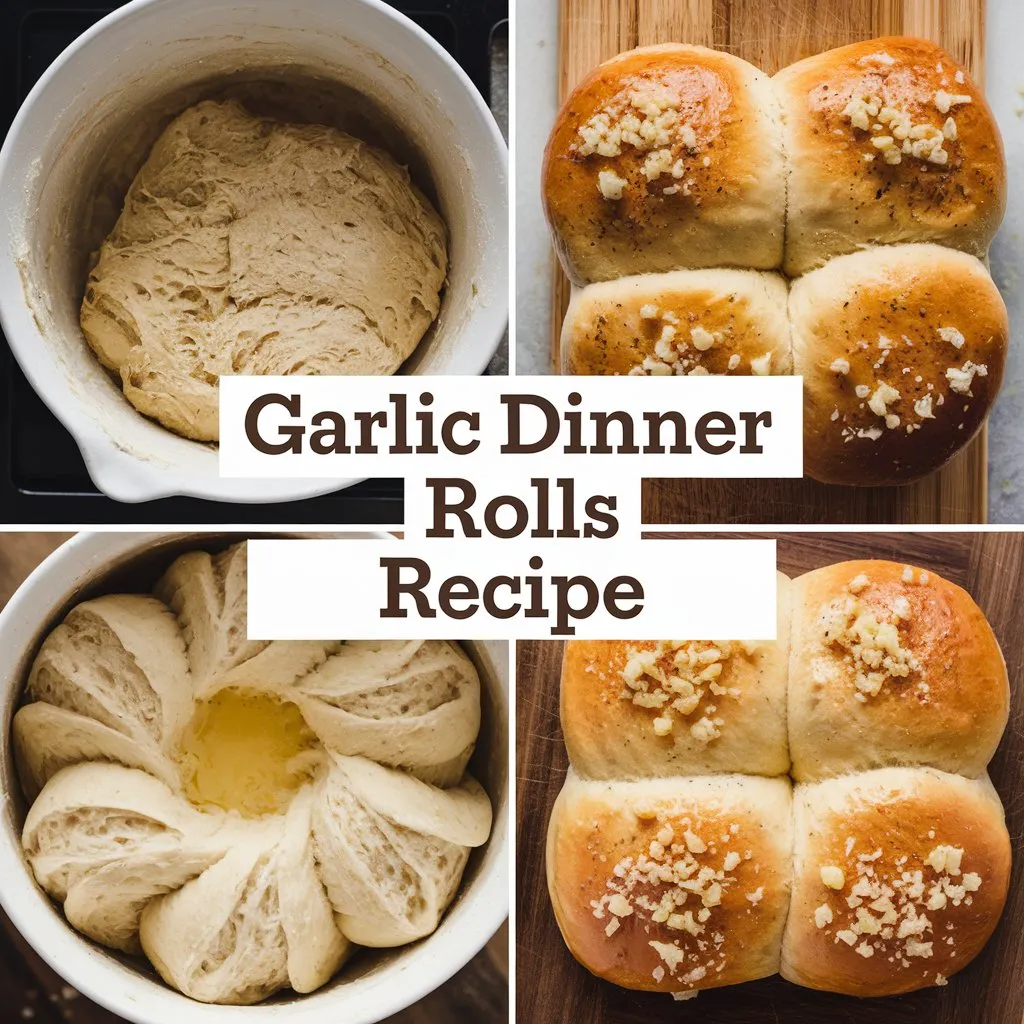
Once the dough is smooth and no longer sticky, shape it into a ball. Lightly grease a large bowl with olive oil, then place the dough inside, turning it over to coat the surface. Cover the bowl with plastic wrap or a clean kitchen towel, and place it in a warm area to rise. Allow the dough to rise for approximately 1 to 1.5 hours, or until it has increased in size to twice its original volume.
Shape the Rolls
After the dough has sufficiently risen, gently deflate it to eliminate any trapped air bubbles. Transfer the dough to a lightly floured surface. Using a sharp knife or dough cutter, divide the dough into 12-16 equal-sized pieces, depending on how large or small you want your rolls.
Roll each piece into a smooth ball, tucking the edges underneath to create a taut surface. Place the dough balls onto a lightly greased baking sheet or a cast-iron skillet. Make sure to space them out evenly to allow for spreading as they bake.
Second Rise
Cover the shaped rolls with plastic wrap or a towel and allow them to rise for another 30-45 minutes, or until they have puffed up and nearly doubled in size. This second rise is crucial for achieving that light, fluffy texture.
Preheat the Oven
While the rolls are undergoing their second rise, preheat your oven to 375°F (190°C). It is important to place the oven rack in the center to achieve uniform baking results.
Prepare the Garlic Butter Topping
While waiting for the rolls to rise, prepare the garlic butter topping. In a small saucepan or microwave-safe bowl, melt the butter and add the minced garlic. Cook the garlic in the butter for 1-2 minutes, until fragrant but not browned. Remove from heat and stir in the chopped parsley. Set this aside for later.
Bake the Rolls
Once the rolls have risen and the oven is preheated, brush the tops of the rolls with a bit of the melted garlic butter mixture. Place the rolls in the oven and bake for 15-20 minutes, or until they are lightly golden brown on top.
Add the Final Touches
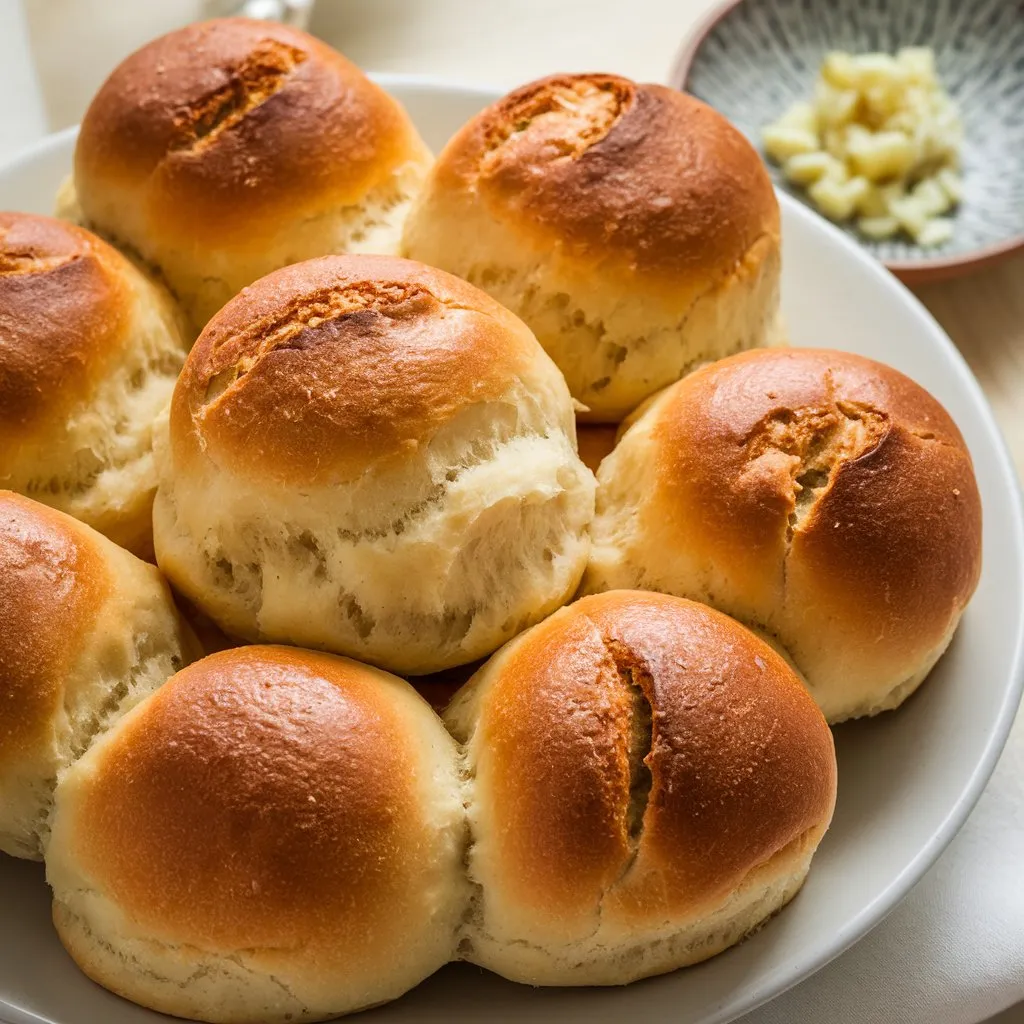
As soon as the rolls come out of the oven, brush them generously with the remaining garlic butter. If you want an extra cheesy touch, sprinkle some grated parmesan or shredded cheese on top while they’re still hot. The heat will help melt the cheese, adding a delightful richness to each roll.
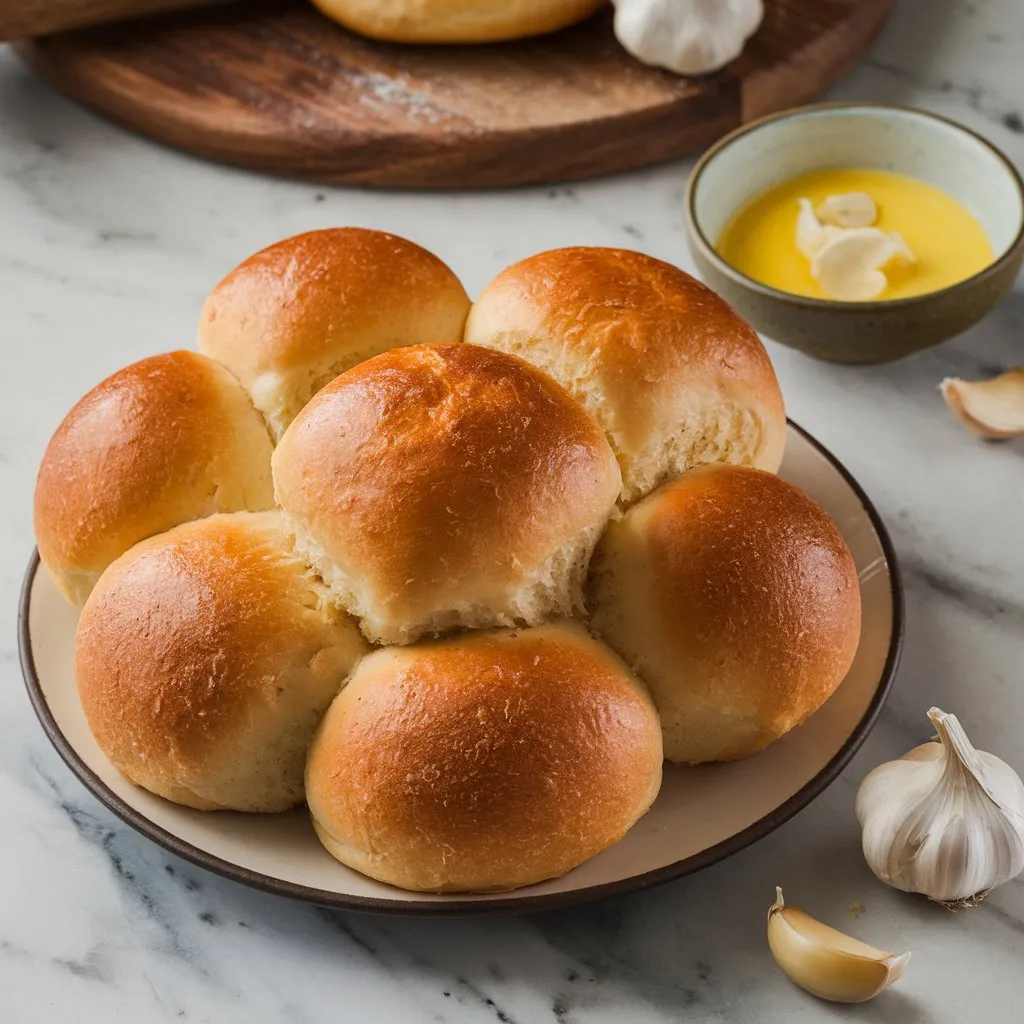
Serve Warm
Let the rolls cool for just a few minutes before serving. These homemade garlic dinner rolls are best enjoyed warm, slathered with extra butter if desired. They are the perfect addition to any meal, from soups and salads to hearty stews and pastas.
Tips for Making the Perfect Garlic Dinner Rolls
- Use fresh yeast: Make sure your yeast is fresh and not expired to ensure the rolls rise properly.
- Room temperature ingredients: Allow the butter and milk to come to room temperature before adding them to the dough. This helps the dough mix more evenly.
- Do not over-knead: Knead the dough just until it becomes smooth and elastic. Over-kneading can result in dense, tough rolls.
- Customize the flavor: Feel free to experiment with different herbs like rosemary, thyme, or oregano. You can also add shredded cheese to the dough for an even cheesier flavor.
- Make ahead: You can prepare the dough ahead of time and let it rise in the fridge overnight. Simply shape and bake the rolls the next day.
FAQ: Common Questions about Garlic Dinner Rolls
Is it possible to substitute instant yeast for active dry yeast?
Yes, instant yeast works just as well as active dry yeast. If using instant yeast, you can skip the step of activating it in water and add it directly to the dry ingredients.
Can I freeze garlic dinner rolls?
Absolutely! After baking, allow the rolls to cool completely, then place them in an airtight container or zip-top bag. Freeze for up to 2 months. To reheat, thaw them in the fridge overnight and warm them in the oven or microwave.
How do I store leftover rolls?
Store any leftover rolls in an airtight container at room temperature for up to 2 days. For longer storage, freeze them as mentioned above.
Can I make these rolls vegan?
Yes, to make this recipe vegan, substitute the milk with a plant-based milk like almond or soy milk, and use vegan butter instead of regular butter. Ensure any cheese used is also vegan.
Conclusion
These garlic dinner rolls are a must-try for any occasion. Soft, buttery, and bursting with the flavors of garlic, parmesan, and fresh herbs, they are the perfect side dish to elevate your next meal. The best part? They are super easy to make and only require a handful of simple ingredients. Whether you’re serving them at a holiday dinner or a casual weeknight meal, these rolls will have everyone coming back for seconds.
With a little bit of time and love, you’ll be rewarded with a batch of fluffy, garlicky rolls that taste as good as they smell. Give this recipe a try, and you’ll never want store-bought rolls again!